 how-to
Glass Display Cabinet Installation Tips
Table of Contents
- What You'll Need Before Starting
- Preparing Your Workspace and Protecting Surfaces
- How to Assemble a Glass Display Cabinet
- How to Level a Glass Display Cabinet
- How to Secure a Display Cabinet to the Wall
- Glass Handling and Personal Safety
- Troubleshooting Common Installation Problems
- Frequently Asked Questions
Last Updated: October 11, 2026
What You'll Need Before Starting
Gather your tools and materials before opening the box to avoid delays during glass display cabinet installation.
You'll need a screwdriver, spirit level, tape measure, soft cloth, and work gloves. Check your manual for additional tools like a rubber mallet or Allen key.
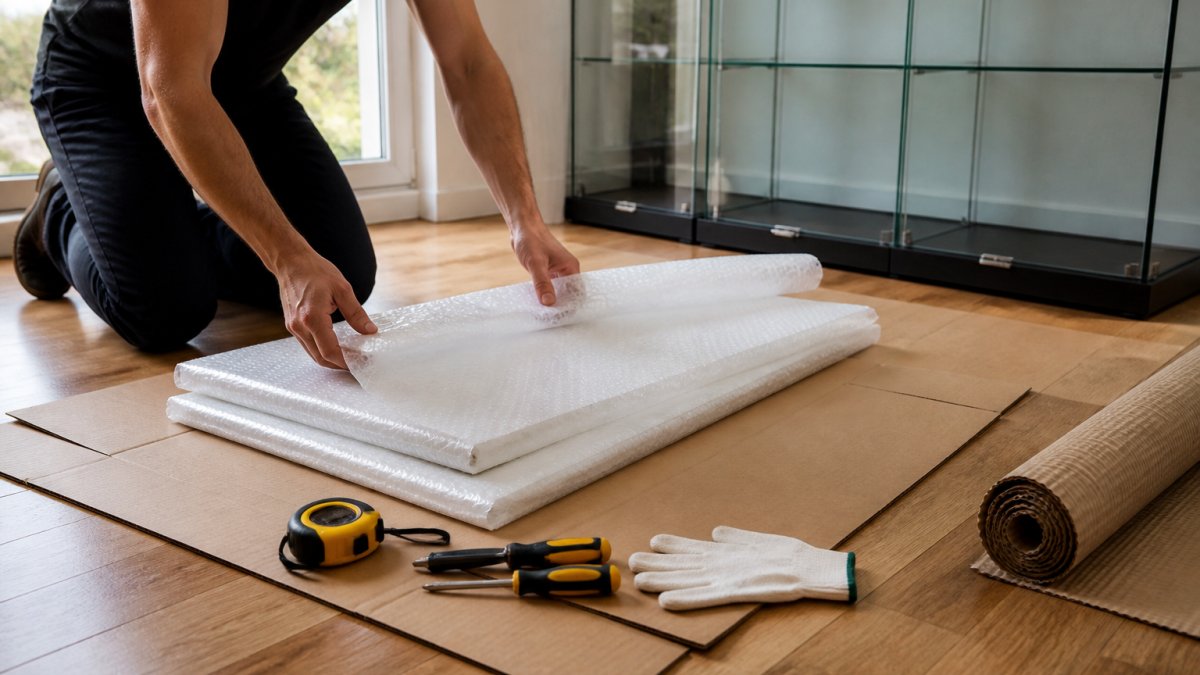
Clear a large, flat workspace such as a dining table or garage floor. Lay down cardboard or a protective blanket to prevent scratches and protect your floor. Use good lighting to see fasteners clearly.
Preparing Your Workspace and Protecting Surfaces
Choose a space larger than the cabinet to rotate panels and lay out components. If assembling on a wooden floor, place plywood or thick cardboard underneath to protect the surface and prevent sliding.
Protect glass panels with bubble wrap or moving blankets, stacking them upright against a wall to prevent pressure cracks. Ensure adequate lighting to align fasteners correctly.
How to Assemble a Glass Display Cabinet
Checking Parts and Hardware
Verify all components match your parts list before proceeding.
Inspect frame pieces for bent aluminium or stripped holes. Check glass panels for chips or cracks, and verify hinges move smoothly and locks function.
Organise fasteners by type in small containers. Separate screws, washers, and brackets. This prevents mixing up components during assembly and speeds up each step.
Building the Cabinet Frame
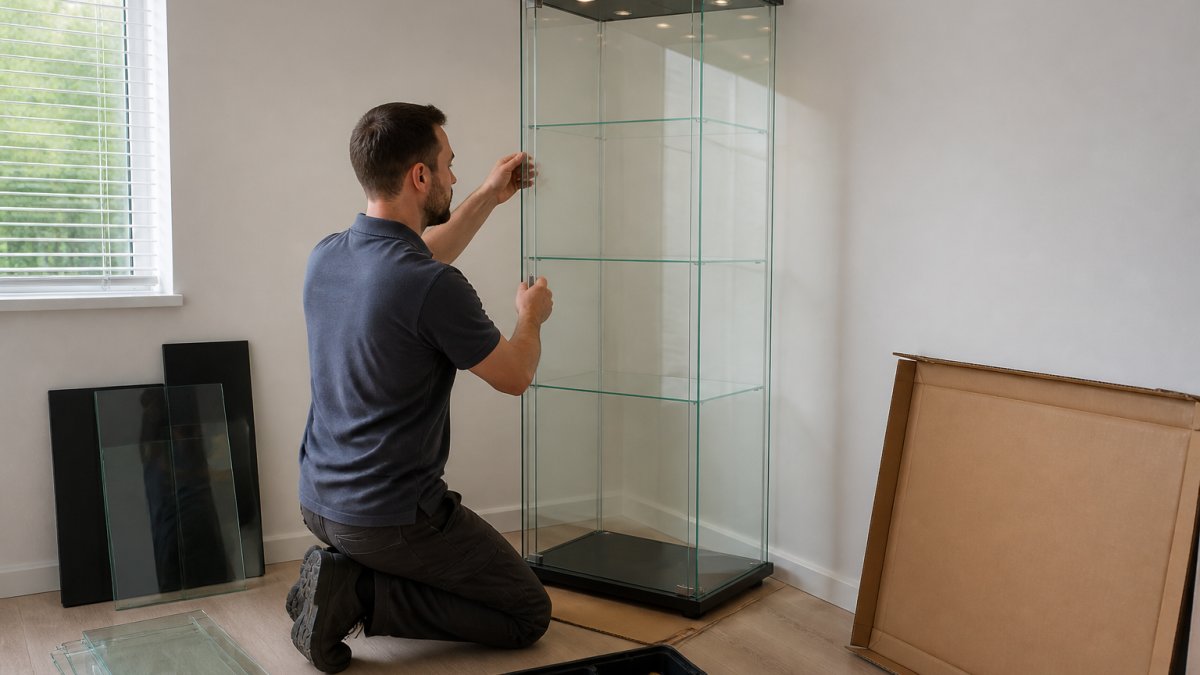
Assemble the frame by laying the base on your protective surface, inserting corner brackets into the aluminium channels, and hand-tightening screws.
Attach vertical supports using your spirit level to ensure they are upright. Adjust before fully tightening screws, as loose frames cause doors to stick and shelves to sit unevenly.
Add the top frame section once vertical supports are secure. Tighten fasteners firmly without over-tightening, which can strip aluminium threads.
Installing Glass Panels and Doors
Slide glass panels into the aluminium frame channels carefully at a slight angle. Never force glass into tight channels, as uneven pressure causes cracking.
Attach hinges to the door panel approximately 5-7 cm from the top and bottom. Check alignment before fully tightening so doors hang straight and close without binding.
Attach door handles last, using a slow drill speed on glass to prevent cracking. Tighten handles securely.
Fitting Glass Shelves and Supports
Install shelf supports at your desired heights. Slide glass shelves onto supports gently; never force them. Glass shelves typically support 15-25 kg per shelf depending on thickness and span.
Check that shelves sit level using your spirit level. Adjust support clips if needed. Shelves that slope will cause items to slide and can damage collectibles.
How to Level a Glass Display Cabinet
Use a spirit level to check both front-to-back and left-to-right angles. If the bubble sits off-centre, adjust by placing shims under the lower corner. Most floors require slight shimming.
Check door alignment after levelling. Doors should close smoothly without catching at the top or bottom. If a door binds, the cabinet may still be slightly out of level, or hinges may need adjustment.
How to Secure a Display Cabinet to the Wall
Wall anchoring prevents tip-over accidents, a leading cause of injury in homes with children or pets. Tall cabinets with narrow bases are inherently unstable and must be anchored.
Why Wall Anchoring Matters
A glass display cabinet can weigh 30-80 kg when empty. Tall cabinets with narrow bases can tip if pulled, bumped, or climbed on, a particular risk for children.
Wall anchoring distributes the cabinet's weight across the wall structure, preventing the cabinet from rotating forward on its base. This is especially critical for cabinets taller than 1.5 metres or those displaying items worth more than £500. Securing the unit firmly ensures that the structural integrity remains uncompromised while displaying crystal collections that require both stability and a clear view.
Identifying Your Wall Type
The correct anchoring method depends on your wall construction. Identify your wall type before purchasing fixings.
Solid masonry (brick or stone). Use 6 mm diameter masonry screws, 75 mm long, rated for at least 100 kg pull-out strength per screw.
Plasterboard on timber studs (stud walls). You must anchor into wooden studs behind the plasterboard.
Plasterboard on metal studs. Found in some newer builds and commercial spaces. Metal studs are thinner and weaker than timber.
Concrete or rendered blockwork. Similar to masonry; use masonry screws or cavity wall anchors rated for concrete.
Locating Studs and Planning Anchor Points
Use an electronic stud finder to locate timber studs and mark them with a pencil. Position your cabinet so at least two mounting brackets align with studs for maximum stability.
If studs do not align with mounting holes, either move the cabinet slightly or use cavity wall anchors at non-stud locations. Never rely on plasterboard alone.
Check out →
Choosing the Right Fixings
For timber studs: Use wood screws, 75 mm long, 6 mm diameter, rated for at least 100 kg pull-out strength. Drill a pilot hole (3 mm diameter) first to prevent the screw from splitting the stud.
For plasterboard without studs (cavity wall anchors): Use toggle bolts (strongest) or expanding anchors.
For masonry: Use masonry screws (concrete screws), 75 mm long, 6 mm diameter. Drill a pilot hole (5 mm diameter) into the mortar joint or masonry. Insert the screw and tighten firmly.
Installation Steps
-
Drill pilot holes. For timber studs, use a 3 mm drill bit. For plasterboard with cavity anchors, follow the anchor manufacturer's instructions (usually a 6-8 mm hole). For masonry, use a 5 mm masonry drill bit.
-
Install anchors if required. If using cavity wall anchors, insert the anchor into the hole and tap it flush with the wall. If using toggle bolts, insert the toggle mechanism through the hole; it will expand behind the plasterboard.
-
Attach mounting brackets to the cabinet frame. Most cabinets have pre-drilled holes for mounting brackets. Screw the bracket to the cabinet first, then position the cabinet against the wall and mark the wall holes through the bracket.
-
Screw the cabinet to the wall. Insert screws through the bracket into the wall anchors or studs. Tighten firmly. The cabinet should not move when you apply moderate pressure from the side.
-
Verify stability. Once all screws are tight, grasp the top of the cabinet and apply firm downward and forward pressure. The cabinet should not rock, shift, or rotate. If it moves, check that all screws are fully tightened and that anchors are seated properly.
Load Rating and Weight Distribution
Check your cabinet's weight in the instruction manual. Add the weight of items you plan to display (estimate 10-20 kg for a moderately loaded cabinet).
Example: A 50 kg cabinet plus 20 kg of items = 70 kg total. Your anchors should be rated for at least 105 kg combined capacity.
Distribute weight evenly across shelves. Do not load all heavy items on one shelf; this creates uneven stress on the frame and can cause the cabinet to tip forward if it is not anchored securely.
Checking Anchoring After Installation
Once the cabinet is anchored and loaded, perform a final stability check:
- Grasp the top corner of the cabinet and pull firmly toward you. The cabinet should not move or rock.
- Push the cabinet gently from the side. It should not shift or rotate.
- Open and close doors several times. Doors should operate smoothly without the cabinet moving.
- Check that all visible screws remain tight. Vibration from door movement can loosen fasteners over time; check again after one month of use.
Glass Handling and Personal Safety
Glass panels are heavy, fragile, and pose genuine injury risks if handled carelessly.
Understanding Glass Hazards
Tempered glass is stronger than standard glass but vulnerable to edge damage. A small chip can propagate suddenly under pressure. Glass weighs roughly 2.5 kg per square metre; a 60 cm × 40 cm panel weighs around 6 kg. Dropping a panel from waist height can shatter it and cause lacerations.
Personal Protective Equipment
Wear cut-resistant work gloves rated EN 388 Level 4 or 5 with Kevlar or polyethylene fibres. Wear safety glasses or a face shield when cutting, drilling, or installing glass. Wear closed-toe shoes with a firm sole.
Safe Handling Techniques
Never carry a glass panel alone if it exceeds 60 cm in any dimension. Carry panels vertically, gripping opposite edges with both hands. Hold them at arm's length so they fall away from you if they slip.
When sliding glass into aluminium channels, move slowly and do not force panels. If a panel feels stuck, check that the channel is clean and the frame is square. If a panel cracks or chips during installation, do not install it; contact the supplier for a replacement.
Protecting Glass During Assembly
Wrap large glass panels in bubble wrap or moving blankets, stacking them upright against a wall. Apply foam edge guards to reduce the risk of cuts. Keep glass panels away from heat sources and direct sunlight during storage.
If Glass Breaks During Installation
If a panel cracks or shatters, wear heavy-duty work gloves and safety glasses. Wrap the broken panel in a blanket and place it in a cardboard box labelled "Broken Glass." Vacuum the work area thoroughly and contact your supplier for a replacement.
Troubleshooting Common Installation Problems
Doors don't close properly. Check that the cabinet is level and that hinges are tight. Loose hinges cause doors to hang at an angle.
Shelves sit unevenly. Verify that shelf supports are at the same height on both sides. Use your spirit level on the shelf itself.
Glass panels rattle inside the frame. Aluminium channels expand and contract with temperature changes, creating small gaps.
Cabinet feels unstable after assembly. Check that all fasteners are tight and the cabinet is level. Verify that all four feet contact the floor evenly.
Proper glass display cabinet installation protects your collectibles and ensures the cabinet functions smoothly for years. At Display Cabinets UK, we supply premium glass display cabinets with locks and lights, available as flatpack or with our professional build service.
Frequently Asked Questions
What tools do you need to assemble a glass display cabinet?
Most glass display cabinets require a screwdriver (Phillips and flathead), a spirit level, a tape measure, and an adjustable wrench. Some models need a drill for wall anchoring. Check your assembly instructions for model-specific requirements. Having a rubber mallet helps tap frame pieces into alignment without damage. Wear work gloves to protect your hands from sharp edges on glass and metal frames.
How long does it take to assemble a glass display cabinet?
Assembly typically takes 1-2 hours for a standard four-shelf cabinet, depending on complexity and your experience. Flatpack cabinets with hinged doors take longer than fixed-panel models. Wall anchoring and levelling add another 30-45 minutes. Having a second person speeds up the process, especially when positioning heavy glass panels and doors. Allow extra time if you're unfamiliar with the assembly sequence.
How can you avoid damaging glass while assembling a display cabinet?
Handle glass panels and doors with both hands and wear cotton gloves for grip and protection. Never force glass into frames or tracks; it should slide smoothly. Lay protective padding on your workspace before setting glass down. Avoid sudden temperature changes, which can crack glass. Don't overtighten fasteners around glass edges. If glass feels stuck, stop and check alignment rather than forcing it. Keep glass away from hard surfaces and metal corners during assembly.
Should a glass display cabinet be secured to the wall?
Yes, wall anchoring is essential for safety and stability. Securing your cabinet to the wall prevents tip-over accidents, particularly in homes with children or pets, and protects valuable collectibles from damage. Use appropriate wall anchors rated for your cabinet's weight and the wall type (plasterboard, brick, or stone). Ensure the cabinet is level before anchoring. Wall-mounted cabinets also free up floor space and create a more permanent, professional appearance for retail or home display.